You will need: A 20cm square piece of origami paper and a pair of scissors. Please read all of the instructions below carefully before starting, or follow along with our video.
You can download our printable origami sheet here.
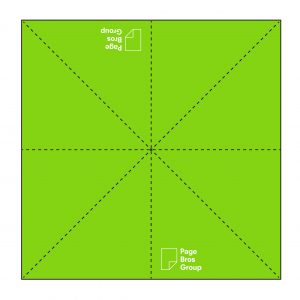
1) Start with a piece of origami paper as shown, green side facing up. Fold in half vertically, horizontally and diagonally.
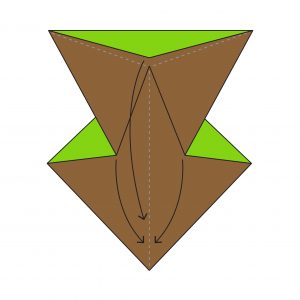
2) Flip to the brown side using the creases you just made, pull the sides into the middle.
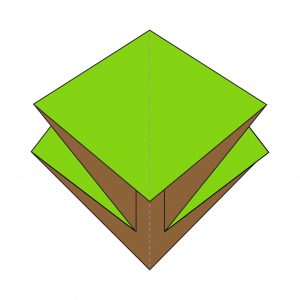
3) Pull the top and sides down and flatten to create a square.
4) You should now have a flat square; the Page Bros logos should not be visible.
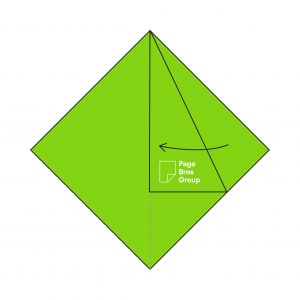
5) Take one layer on the right-hand side and fold it into the centre, creating a diagonal crease with the Page Bros logo now visible.
6) Now fold it in half again.
7) Repeat steps 5 – 6 on the left-hand side.
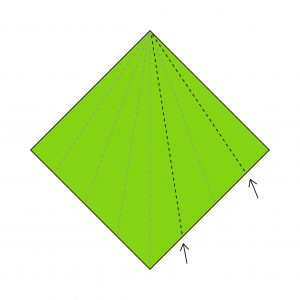
8) Unfold steps 5 – 7, you should have a square with creases like the diagram. Put your finger inside one layer, in-between the two marked creases.
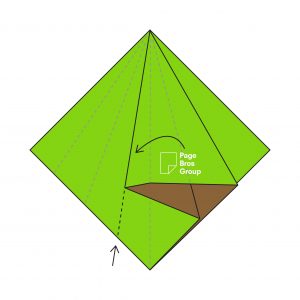
9) Pull the flap over to the left and flatten along the marked crease.
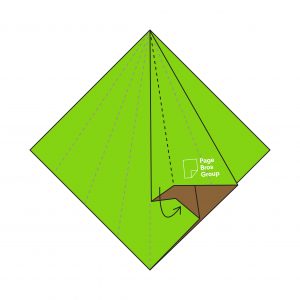
10) Now fold the section that exceeds the centre backwards and tuck it underneath itself.
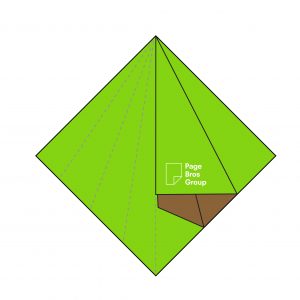
11) The folded triangle shape should now line up down the centre and look like this when flattened.
12) Repeat steps 9 – 11 on the left-hand side.
13) Flip the origami to the other side and repeat steps 5 – 11 on the reverse side. Once complete, it should look like diagram 14.
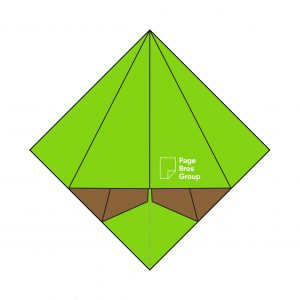
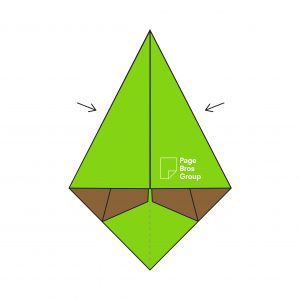
14) You should have two layers each side. Place your fingers inside at the marked points and pinch the front two layers together towards yourself, and the back two layers away from yourself, then flatten.
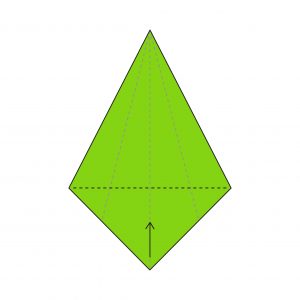
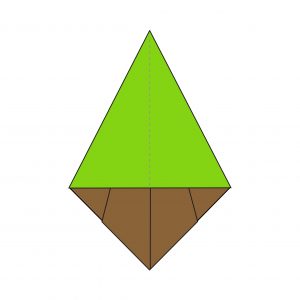
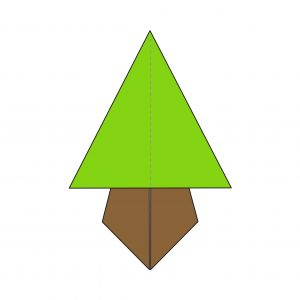
15) You should now have an upside-down kite shape. Fold the bottom point up along the dotted line to create a crease.
16) Tuck the flap you just created inside.
17) Once tucked inside, it should look like this.
18) Turn the tree shape to the other side and repeat steps 15 – 16. It should now start looking like a tree.
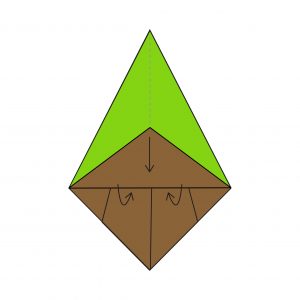
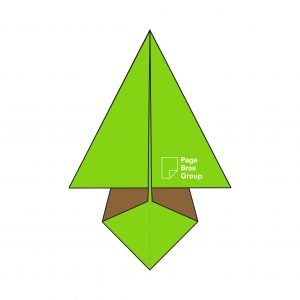
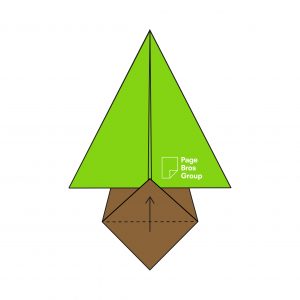
19) Fold the tree shape back to how it was before starting step 14.
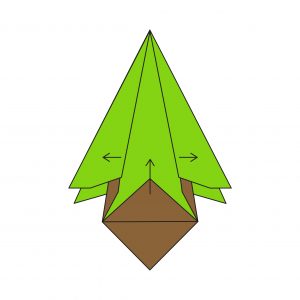
20) You’re now forming the base; fold the bottom point (one layer) upwards along the dotted line.
21) Open the tree front up slightly to tuck the flap inside and close. Repeat steps 20 – 21 on the reverse side. The origami tree should now look like step 22.
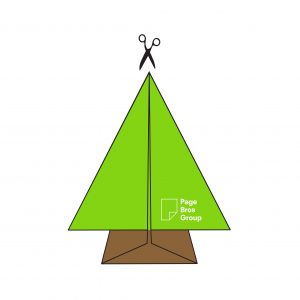
22) Now it’s time to add the star. Cut a small slit in the top of the tree with the tree front and your scissor blades facing you.
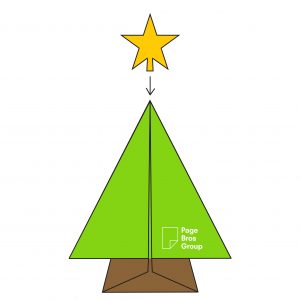
23) Cut out your star, then slot the tab of the star into the slit you’ve created.
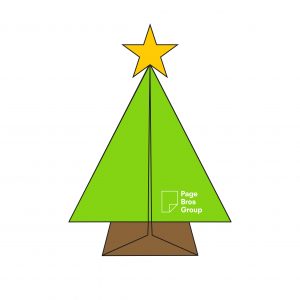
Once the star is attached, you’ve finished your origami Christmas tree!